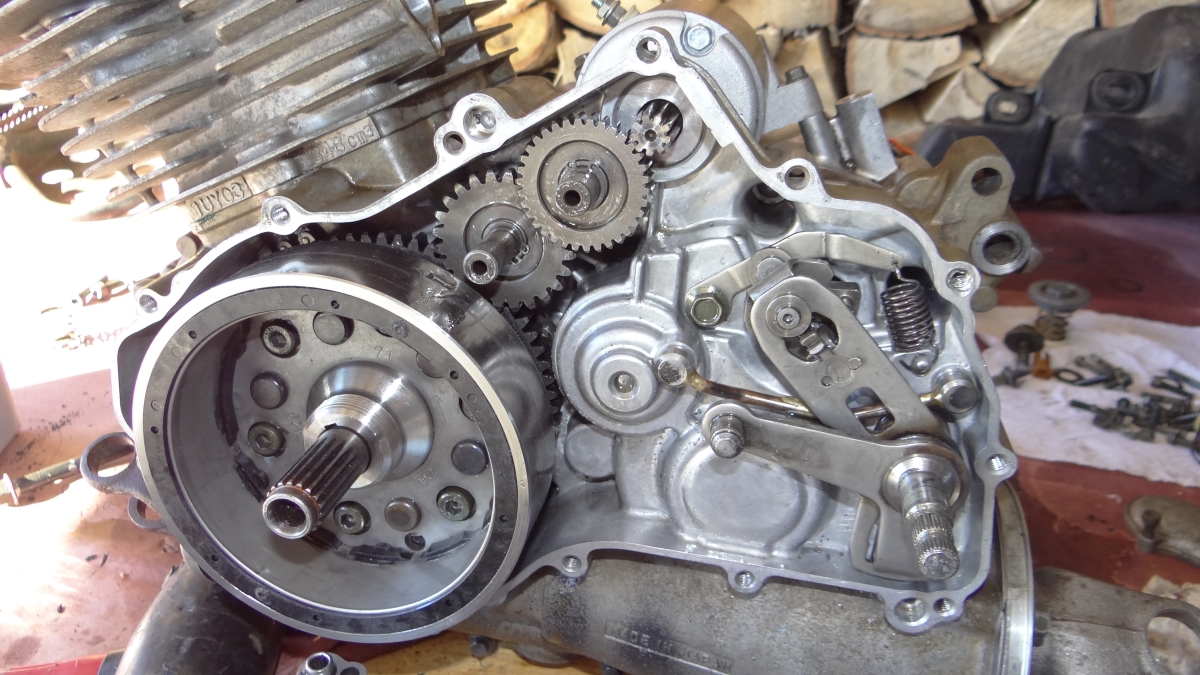
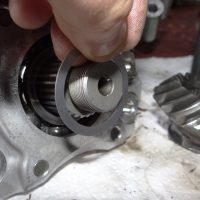
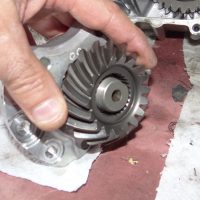
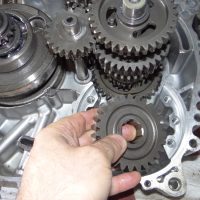
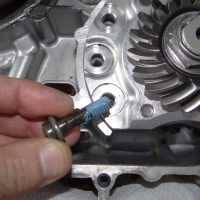
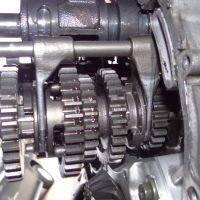
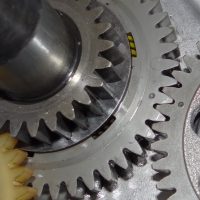
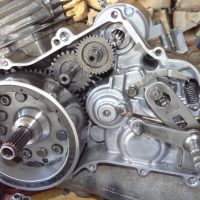
Sometimes the smallest thing can have the biggest impact. A few weeks ago I started the reassembly of Ken’s engine, but I didn’t like how much “free play” the rear drive shaft had. I did some research and learned that there were minor variances in the crankcase measurements after they are machined at the factory. Since I replaced the left engine crankcase, the internal gear lash adjustments had to be done all over again. Darn. So, I followed the service manual’s instructions and retrieved 9 different measurements that were etched in various parts. Those 9 measurements went into 2 formulas, and voila – I had the measurements needed to adjust the gears. The adjustments are made by placing 2 sets of shims behind the gears. Based on the measurements, I needed to replace one .15 mm small shim with a .20 mm size, and order a pair of .20 mm larger shims for the rear gear. The latter 2 shims arrived in a few days, but the smallest shim took 10 days to arrive, delaying the reassembly for another weekend.
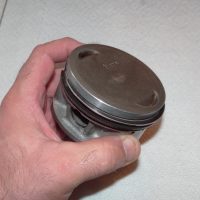
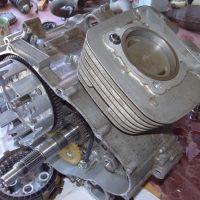
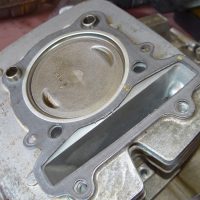
While I waited for the final shim to arrive, I had plenty to keep me busy. The piston rings were seized in the grooves, so that required attention. I soaked the piston in penetrating oil for a week, but it didn’t loosen the rings. I applied heat with a propane torch, and that freed the top compression ring. The second compression wasn’t impressed with the heat, and took 2 hours of nudging and gently pressing inward to finally loosen it. I cleaned the light corrosion from the rings and cleaned carbon from the grooves. The rings were reinstalled and now move freely. I honed the cylinder to de-glaze it, so the rings should wear-in to the cylinder nicely.
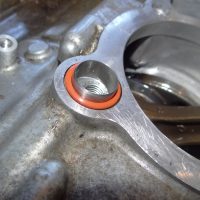
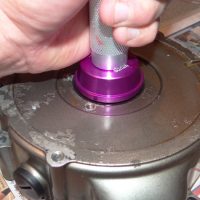
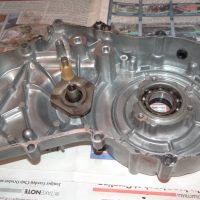
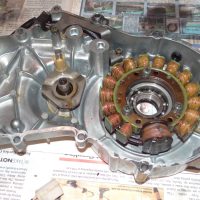
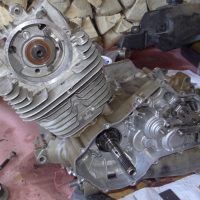
Throughout the engine rebuild, I’ve replaced the oil seals as the parts were reinstalled, along with gaskets and O-rings. The replacement stator housing has beefier idler shaft bosses, so I don’t expect a repeat of the cause of the engine failure. The eBay-sourced stator housing came from a Yamaha Warrior, which used the same engine as the Big Bear, except it was painted a metallic gray at the factory instead of the Big Bear’s black color. So, Ken’s engine will have a gray left side, and a black right side.
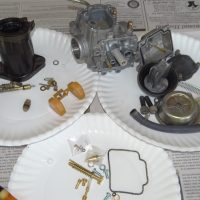
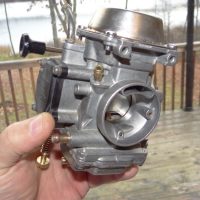
It would make no sense to rebuild the engine and ignore the carburetor, so I ordered a carburetor rebuild kit. This carburetor was difficult to disassemble, since most of the screws were corroded. 7 of 8 screws simply twisted in two, so I had a mess on my hands. Using the drill press, I drilled out each broken screw. I was surprised that all of the screws were eventually removed without damaging the threads in the carburetor body. I had expected that I’d need to re-tap the threads, but that wasn’t necessary. I bought 8 new metric screws at the hardware store and reassembled the carburetor Saturday.
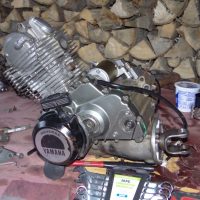
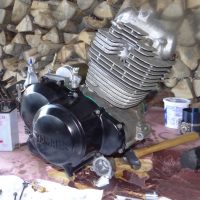
By the end of Sunday, November 8, the engine was reassembled. I adjusted the valves, since it was more convenient to access the adjusters while the engine was on the work table. I connected the starter to the battery using jumper cables, and the engine cranked over nicely. I didn’t crank it for long, since I still have to add oil, but it sounded solid.
Stay tuned – next weekend I hope to reinstall the engine and start it up.

