The 1966 Honda CL77 Scrambler restoration continues to inch forward with baby steps. There hasn’t been much free time to work on the project lately, and the next few months are going to be busy as we get ready to move to a new home, but I did manage to put in a few more hours on this project this weekend.
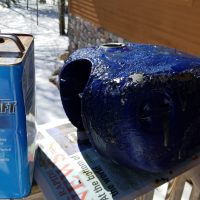
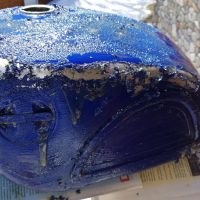
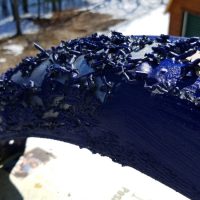
I will return the motorcycle to its original light silver color, so the non-standard blue paint had to come off. For this work I used Aircraft brand paint remover. This blue paint was rock hard and initially resisted the paint remover, so I had to lightly sand the surfaces to allow the paint remover to do its work. The paint eventually surrendered and flaked off as expected. At this point I discovered a few areas with very thin body filler under the paint. The paint remover also removed the body filler, so I’ll need to fix that before priming the panels.
I also began the process of reassembling the engine. The alternator rotor needed to come off, which required an M16 1.5 fine thread pitch bolt to be screwed into the rotor. My local hardware store only stocked M16 2.0 standard thread pitch bolts, so I had to order a single bolt online. Armed with my special bolt, the alternator rotor easily popped off as I threaded the bolt into the rotor. This allowed the old crankshaft seal to finally be removed.
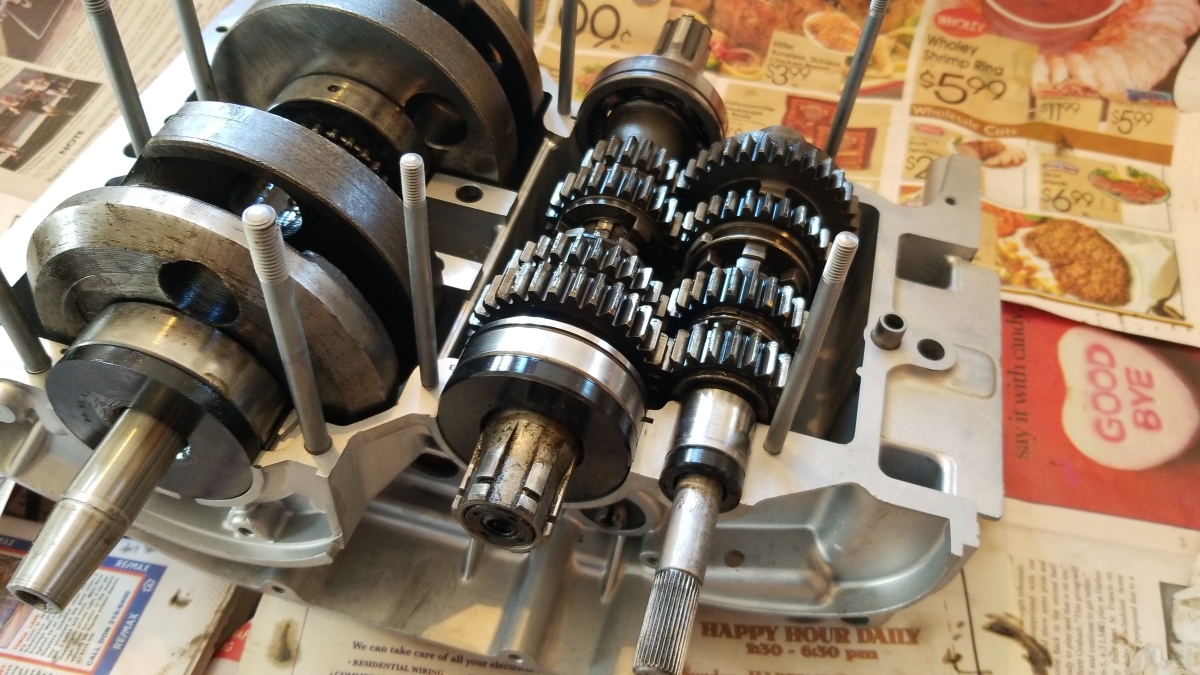
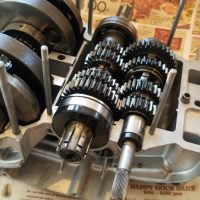
I disassembled all the transmission pieces, cleaning each piece with solvent before reassembling them with engine assembly lube. The engine assembly lube has graphite and molybdenum to aid in lubricating the engine during the initial start-up, before the oil has a chance to circulate the first time. I was quite pleased with the condition of the transmission gears. I wasn’t able to find a single tooth that exhibited any visible wear. The gear “dogs”, which engage the gears when the transmission is shifted, looked like new, without the slightest rounding. This transmission should shift nicely.
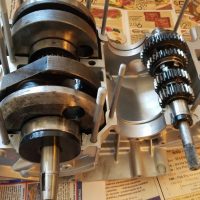
The crankshaft was cleaned and the bearings lubricated before being set into the crankcase. The camshaft drive chain was installed at this stage. All engine seals were replaced as I reassembled the engine’s lower end. I stopped at this point but will pick up next time with the installation of the pistons, cylinder and head.

