

Embarrassingly, it’s been more than 2 years since I’ve posted an update on the 1966 Honda CL77 project. Since May 2018, we moved to a new home and we’ve been busy with countless other priorities. As the weather has grown cooler, I’ll be able to focus on the CL77 project.
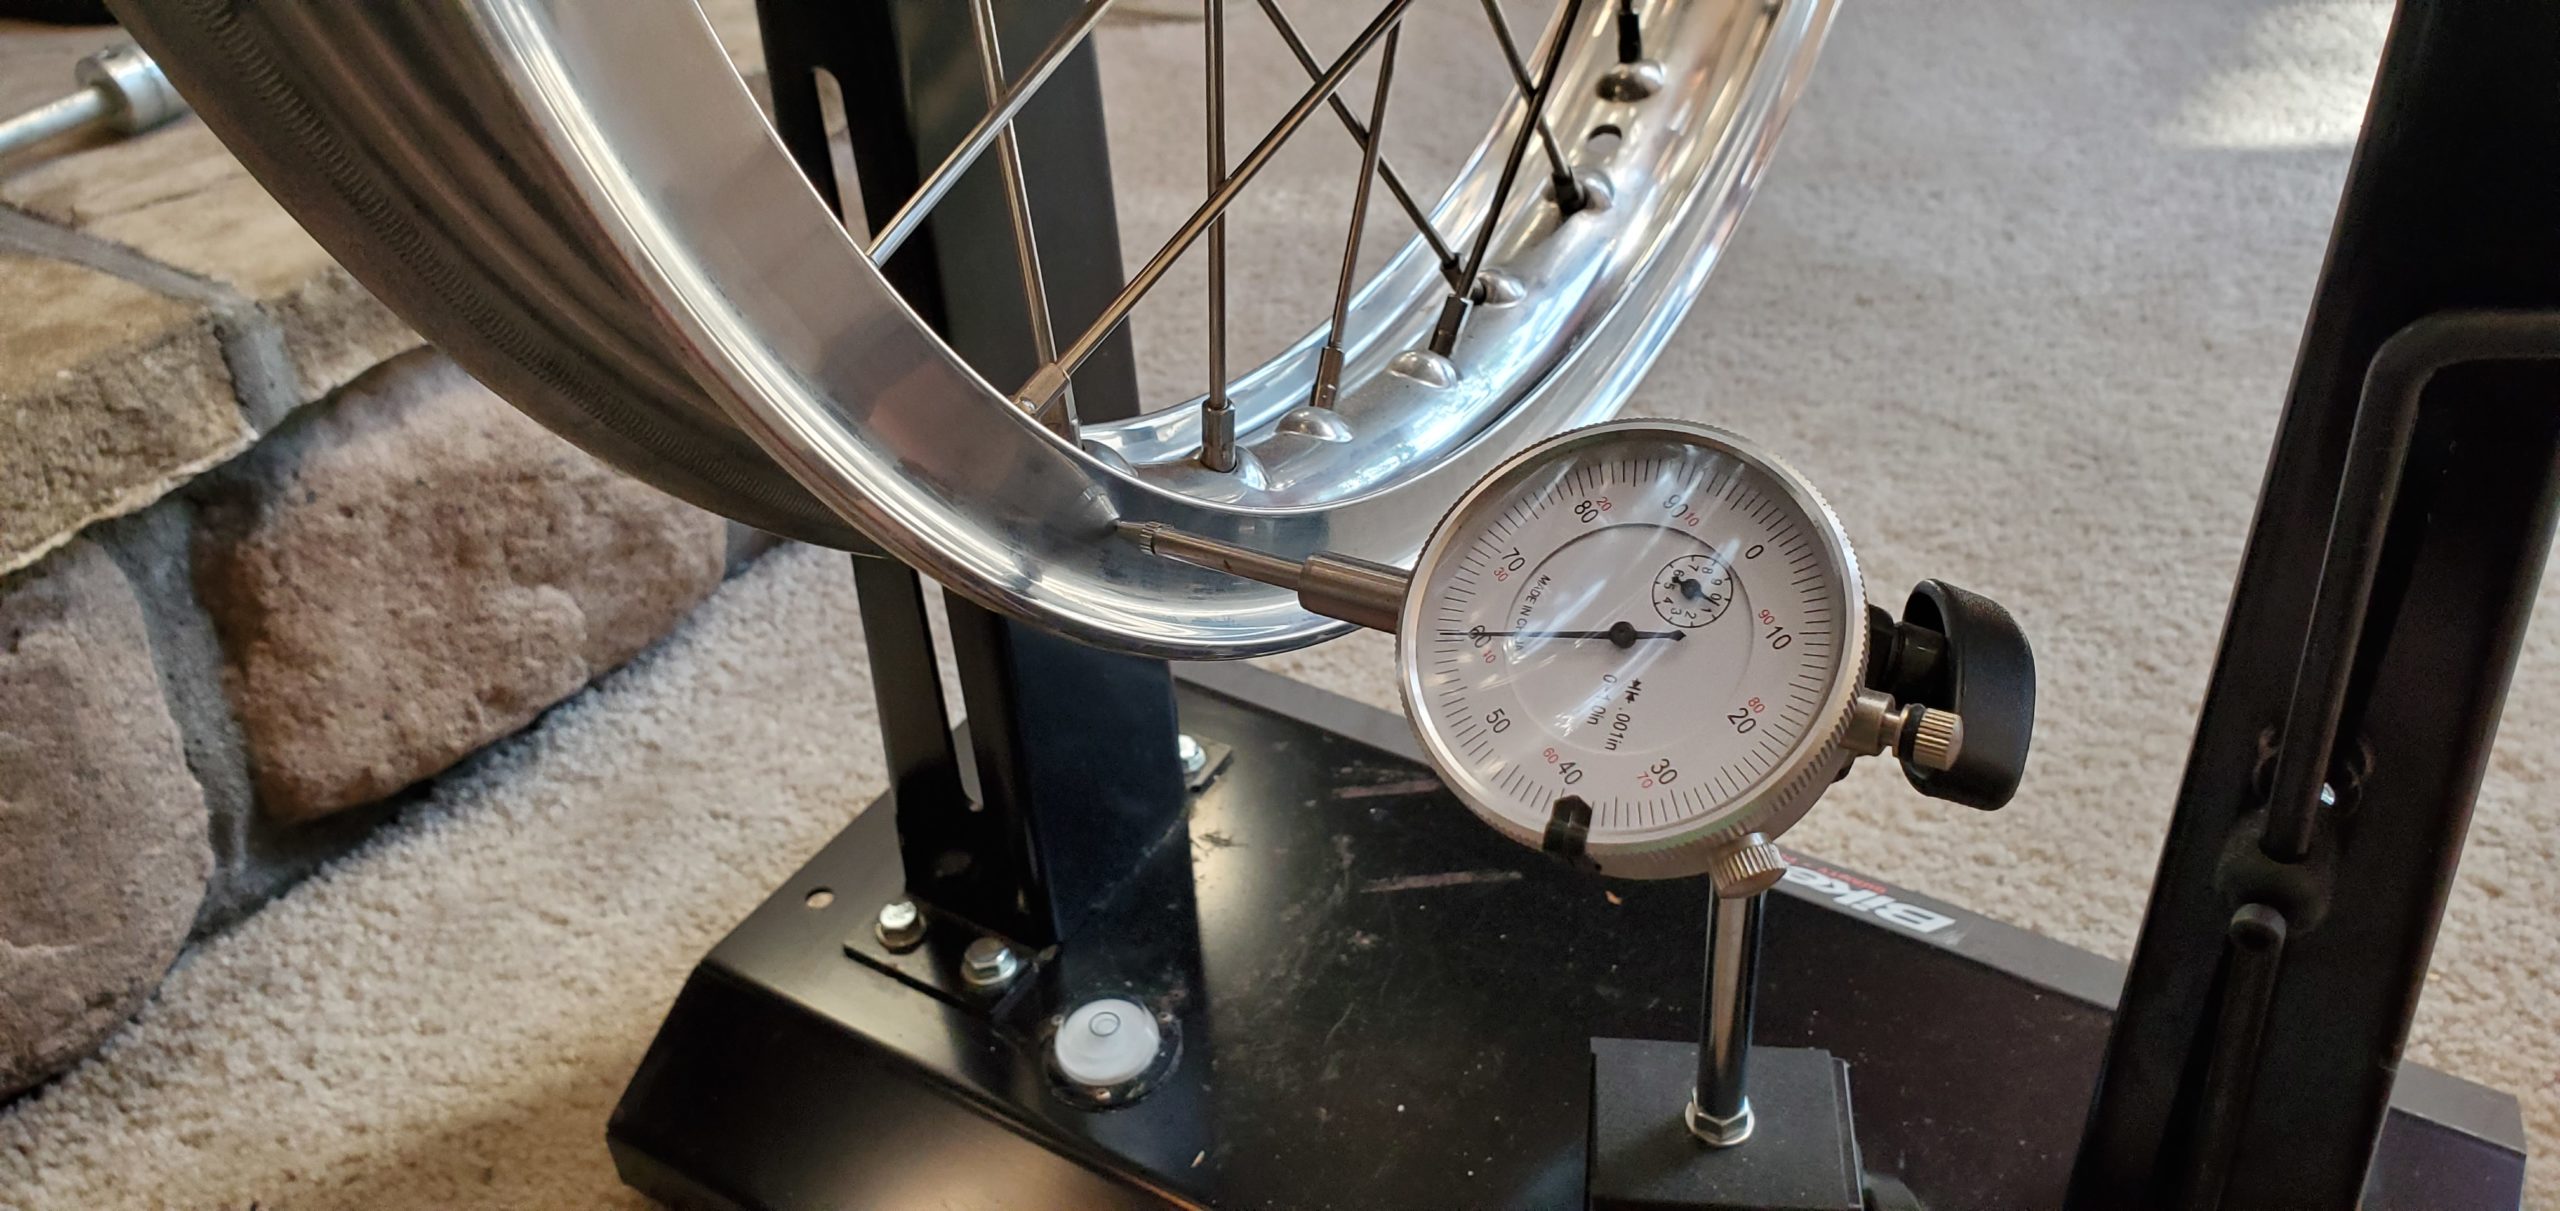
Enough of the excuses … here’s the latest. Over the past few days I’ve completed the truing of the wheels and have mounted the new tires. Once I find my set of balancing weights, I’ll balance the wheels. 2 years ago the hubs were vapor blasted and look like new. Also, the stainless steel spokes are a nice upgrade from stock. The hubs have new bearings pressed in as well. The aluminum rims are from Borrani in Italy and match the flanged style of the original steel rims.
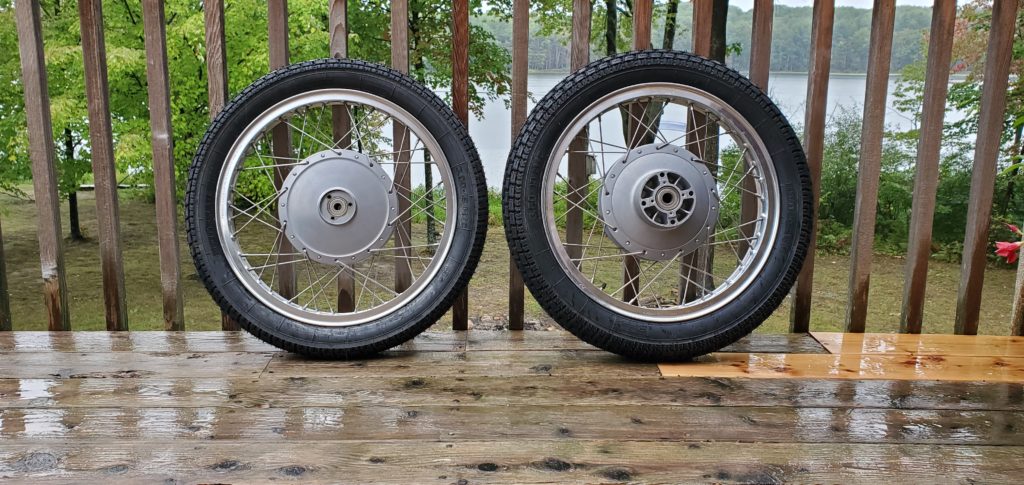
Original hubs are laced with stainless steel spokes and new aluminum rims

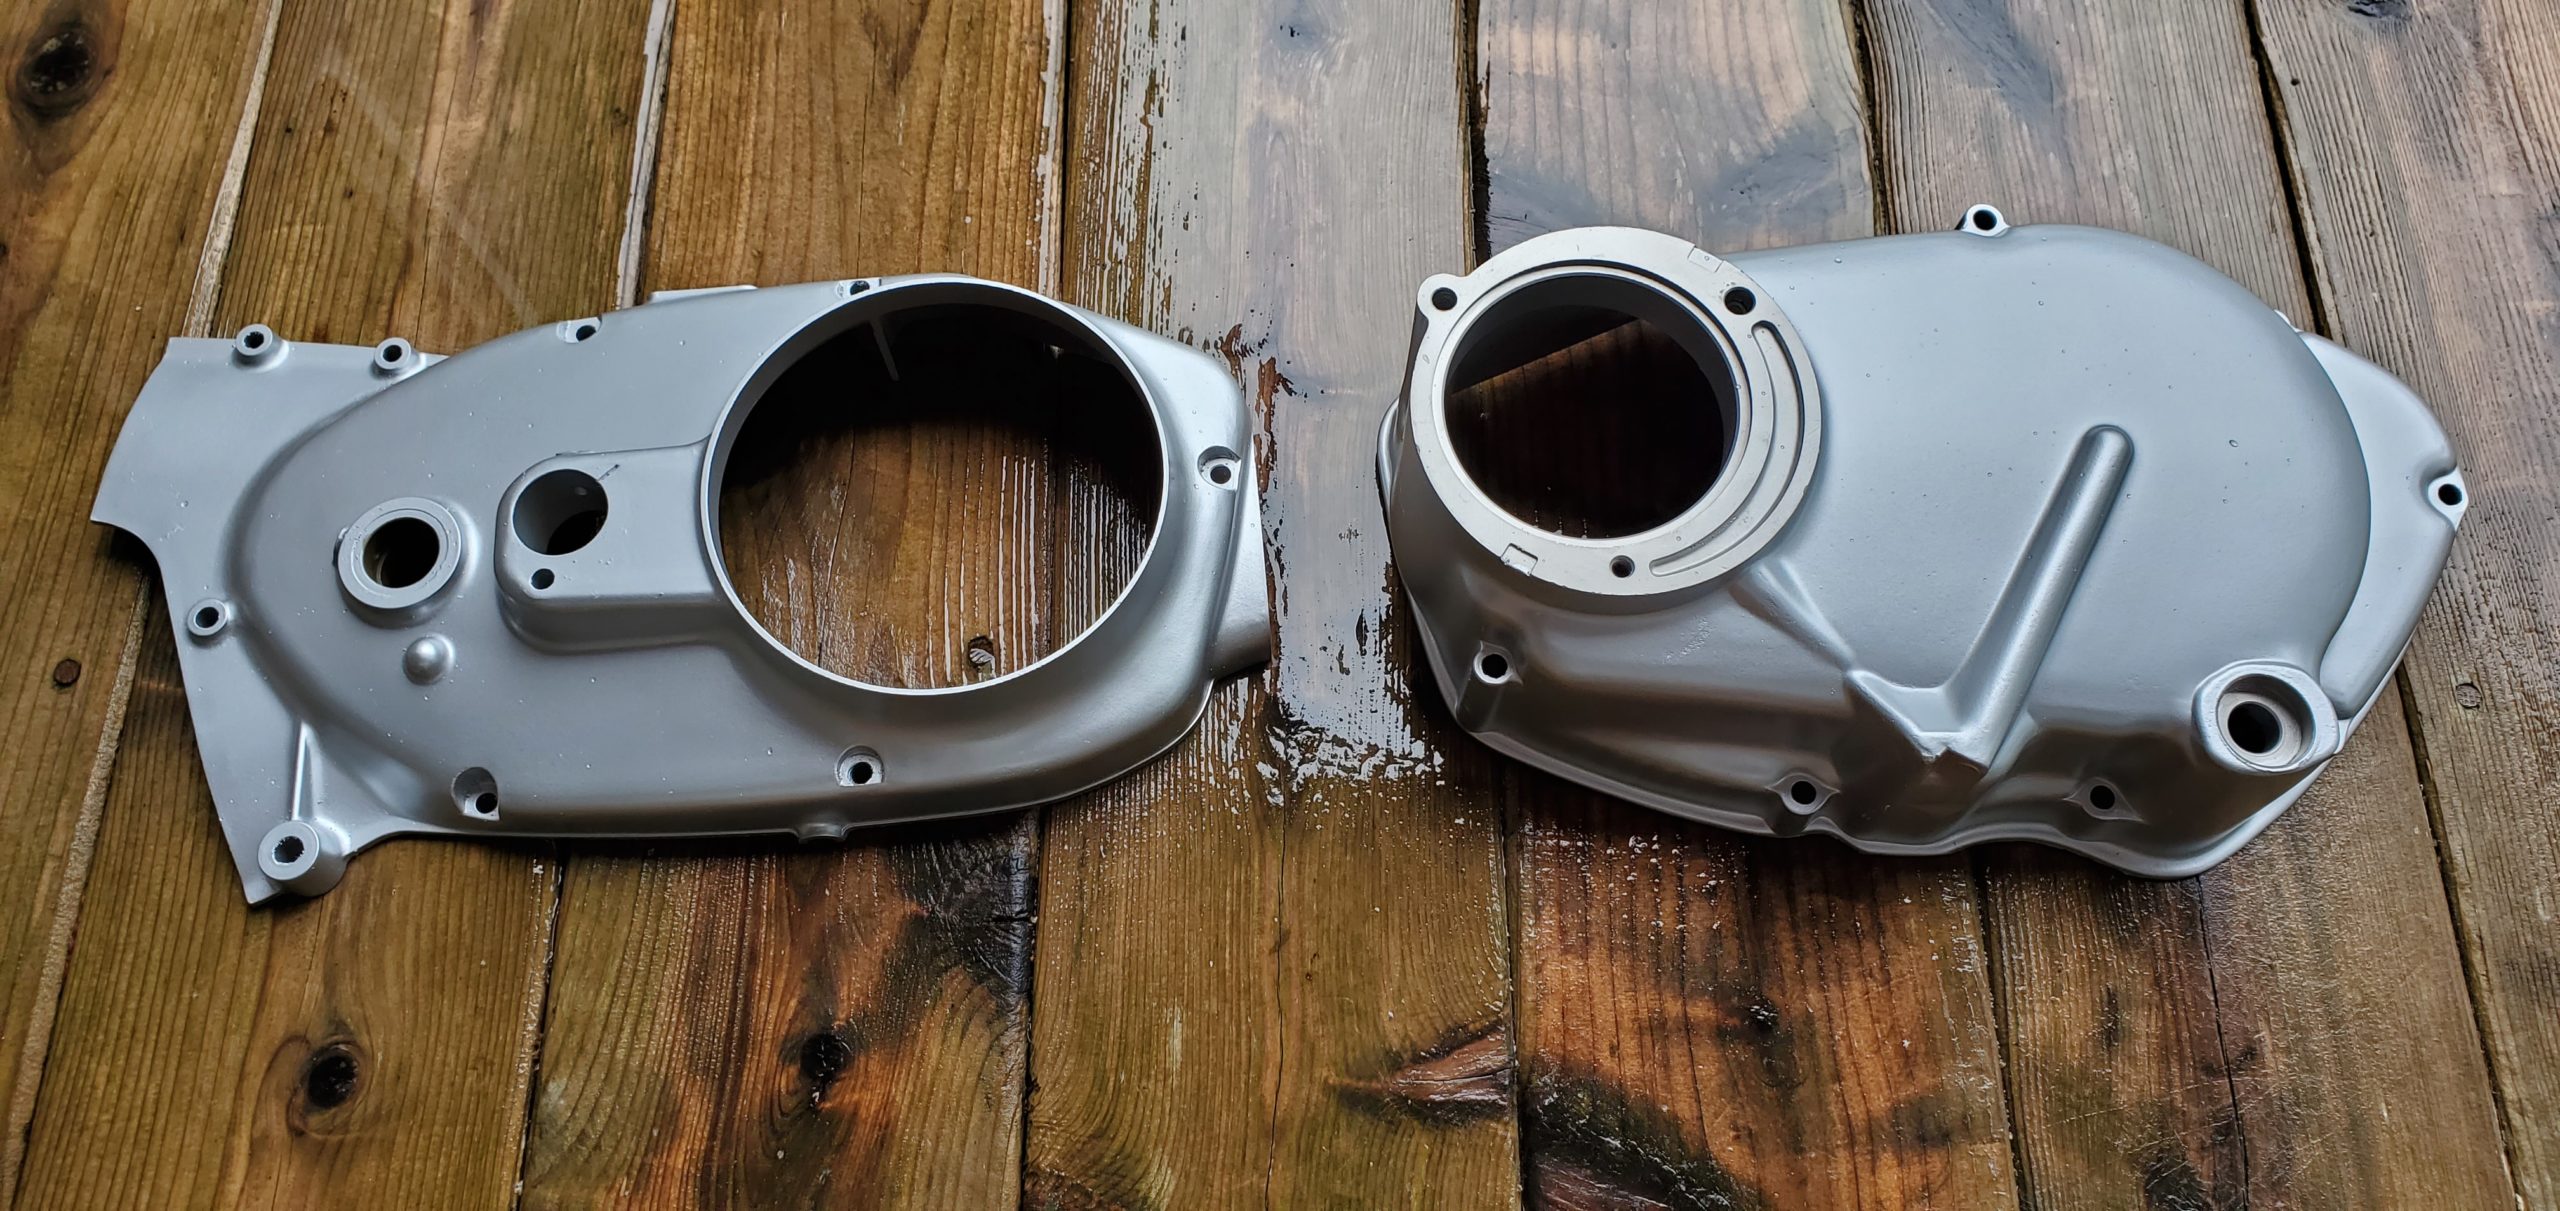
The new old stock (NOS) engine side covers got several coats of ceramic aluminum engine paint, followed by a heat treatment. The original covers had damage and needed replacing. The right side cover is hard to find, too, as it contains a cast-in kick starter shaft bushing, which tended to wear over the decades on these kick start-only bikes.

NOS engine side covers look good
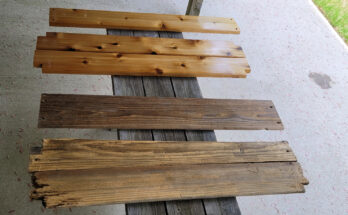
I’ll focus on completing the frame pieces and panels that will be painted their original light silver. I’ll get the sanding and prep work done next. Since the warm weather is fading, I’ll outsource the painting to the pros, which will allow me to put the engine back together during that time.
My goal is to work on this during the off-season and have it ready to ride when the snow clears in Spring 2021.

The dial indicator guides the truing process 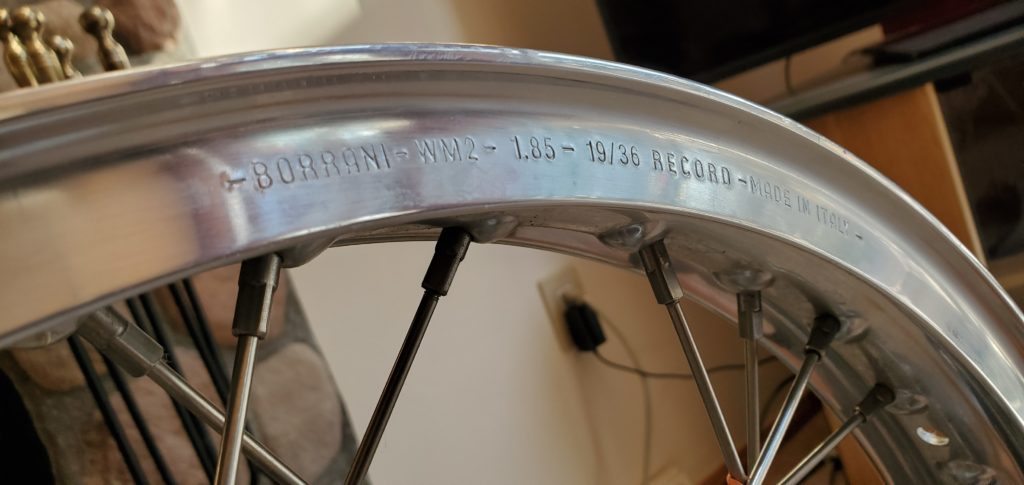
Flanged Borrani rims have same profile as original rims 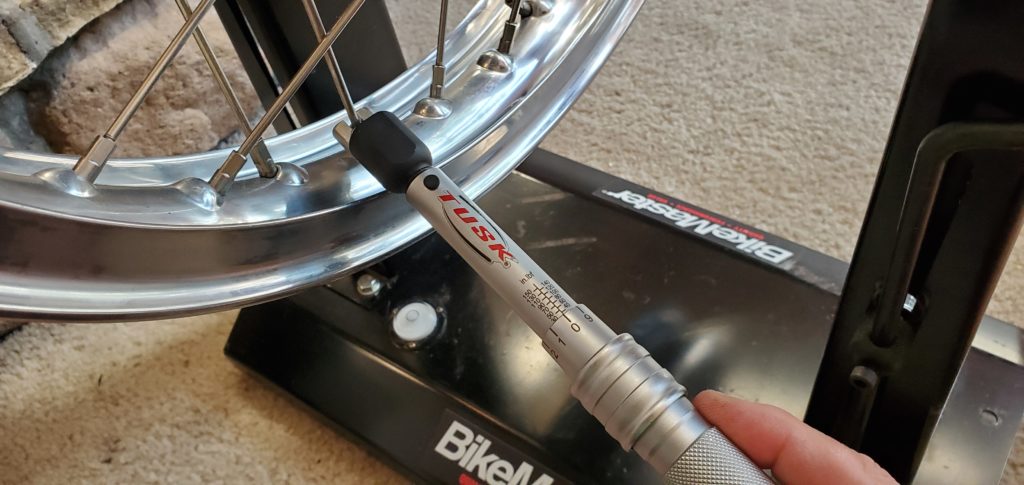
Torque wrench ensures all spokes are tightened appropriately


I just acquired this same bike this week and I’m always open to see what encounters people get into during a build thanks for posting, mine will be a complete rebuild!
Rex
Thanks for commenting, Rex. I’m really looking forward to getting the engine put together shortly. Best of luck to your project.
Such a nice bike. The value of the vintage Hondas are skyrocketing.
The value and price of Hondas are skyrocketing! Anyone who owns one is lucky.
I just came across your build and found it full of useful information that I hope will help me with my CL77. My project will be a complete rebuild and I’m now in the process of taking apart my engine to assess it’s condition. I actually started this project back in the 90’s, buying various parts I knew I would need. Luckily, I sourced an original unused set of pipes but now I’m finding the odds and ends I still need have gotten pretty pricey! Everything stopped with a move to Montana and a new ranching operation. Things have slowed down so now I’m going to try and start the actual work. Anyways, I’m curious where your project now stands. Is it still ongoing?
Walt Max
Alberton, MT
Hello Walt, and thanks for your comment. I’ve been at this for a few years, with lots of time off due to health issues and conflicting priorities. I’m back at it now and should have the engine back together shortly.
With this CL77, I approached the project without concerns for the economics. It’s purely for my enjoyment, so I’m certain I’ve over-spent on replacement parts.
For the exhaust, I agree – there are limited options and what’s available is extremely expensive. I purchased a used muffler that was in excellent condition. My pipes were good, with no corrosion, but I had them re-plated with a chrome-like ceramic coating for a uniform appearance and durability.
Best wishes with your project. I hope to have updates to post within the next few months.